Xposure has 2 web options, both of which are included with your Xposure account at no additional cost! Web Option 1 builds a Business Page that can be used as your personal website. You can use your current domain or you can use the free subdomain.
Web Option 2 gives your website developer the tools to add features to your existing website.
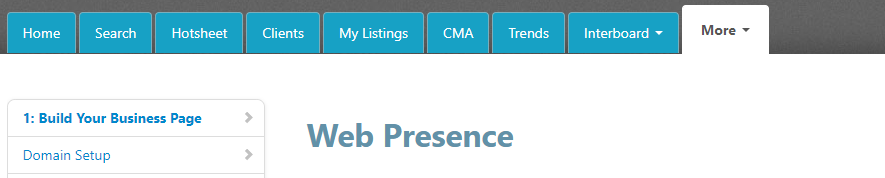
Web Option 1
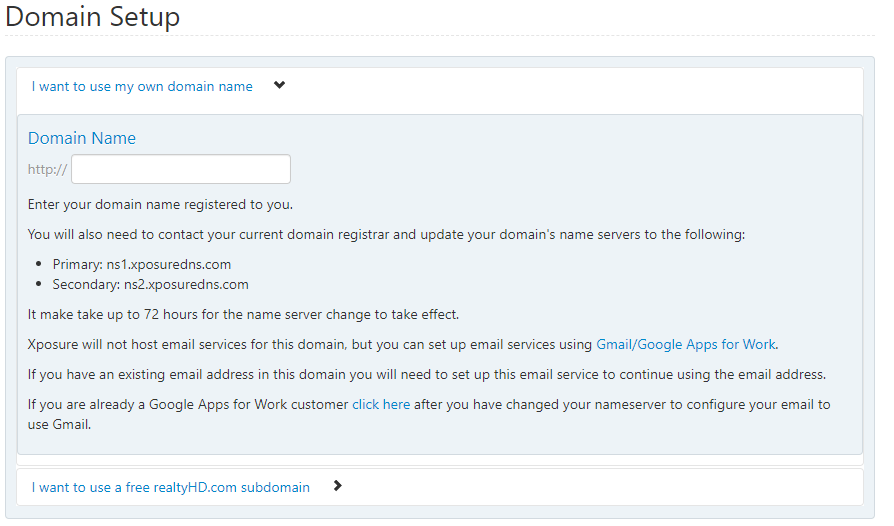
To begin lets look at option one, the built-in Business Page. By scrolling down your screen we see the first option, which is where you can configure your domain name. If you own your own domain URL, this is the area where you can enter your domain name. There is a secondary step needed and you will need to contact your current domain registrar to update their name server. There is some information shown here under the primary and secondary domain name servers that will need to be updated. The second option with the domain name is to use the free realtor hd.com subdomain. By clicking here, you will then be able to enter your name or how you would like the URL to be shown. Once you have your domain entered then click the save business page button on the left-hand side.
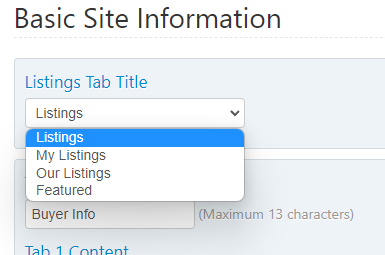
Under “Basic Site Information” you have optional areas where you can customize paragraphs that will be shown on your website. Perhaps you would like to have information for buyers or sellers on your site. This information can be completely customized to how you see fit. You do have the option to have the language in either English or Spanish as shown here.
Under Site Images, You may include up to 4 images that will display on the landing page of your website. Each image must have minimum dimensions of 1280px wide by 960px tall and will be cropped to those dimensions.
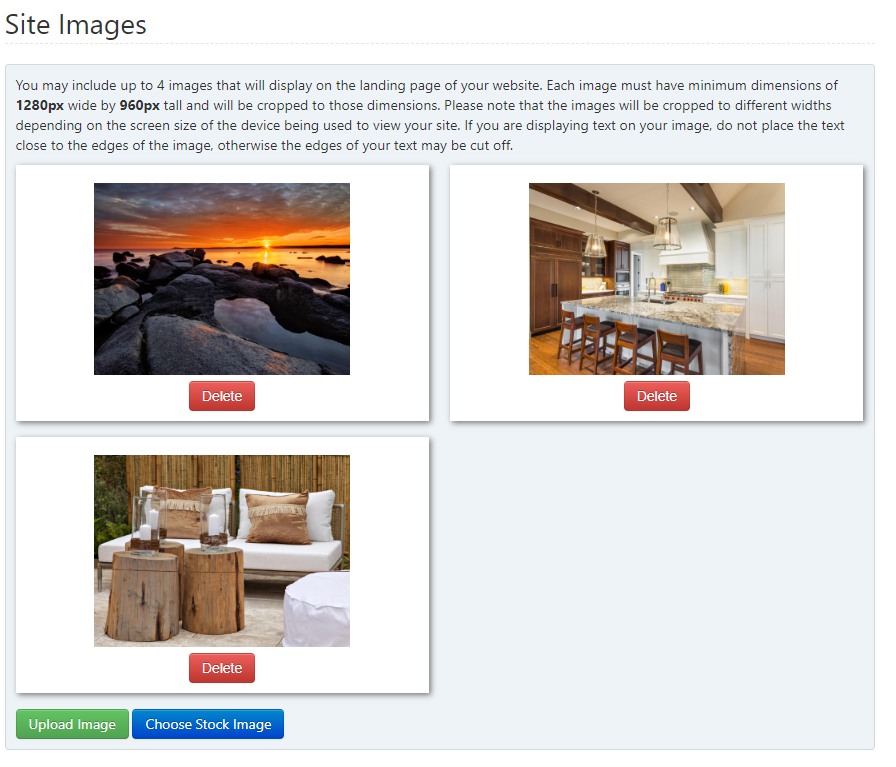
To begin click “Choose Stock Image” and then select the four images that you prefer. Once you’ve selected the four images, click “Choose Images” and the images will be saved.
Under Agent Portal Options, you’ll have the option to select a light or a dark theme for your website. You also have an overlay text for your personal search portal that can be now customized. You can use the default or select the custom toggle here and enter in your customization options here in this field. Note there is a maximum of 30 characters. The last place to customize is a custom link that can be added to your site. Click Custom Link and you can check the box to display a custom link on your website. Enter the English or Spanish field with the name of the link in English or Spanish which is how it will actually show on your website. Now you can paste the URL that it will point to in this field. Once you’ve finished entering your custom link click the “Save Business Page” on the left-hand side.

Web Option 2
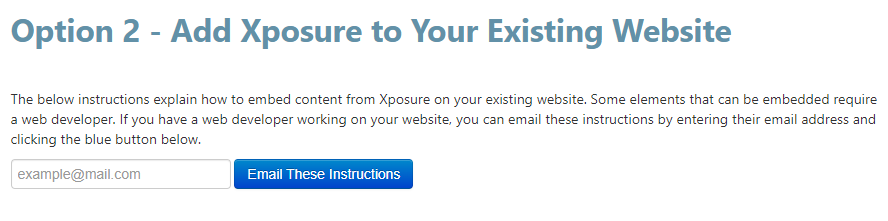
Under option two of the web tab, you have the ability to add Xposure to your existing customized website. If you are working with a web developer you can easily e-mail the instructions using the e-mail button shown here. All directions that you see below will then be emailed to your web developer.
 The features available to be added to your customized Xposure website include a link to allow your users to search for listings using your personal search portal; The code for an Xposure search bar, as well as the ability to allow your users to sign up for Private Client Services directly from your existing website! This simple code creates a link, image, or button on your site that, when clicked, launches the PCS signup dialog, as shown below. The final option is to embed your Xposure listings onto your customized website by selecting your desired options and shown here.
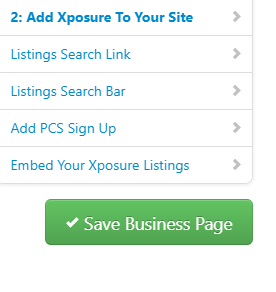
Once you’ve finished selecting your options click the “Save Business Page” on the left-hand side.